> ## Documentation Index
> Fetch the complete documentation index at: https://docs.rebellapp.com/llms.txt
> Use this file to discover all available pages before exploring further.
# Native Mini App
> Build a Mini App using the Rebell Mini Program framework with platform-native components and full JSAPI access.
Native Mini Apps are built using the **Rebell Mini Program framework** — a component-based, JavaScript-driven approach that renders using platform-native UI elements inside the SuperApp.
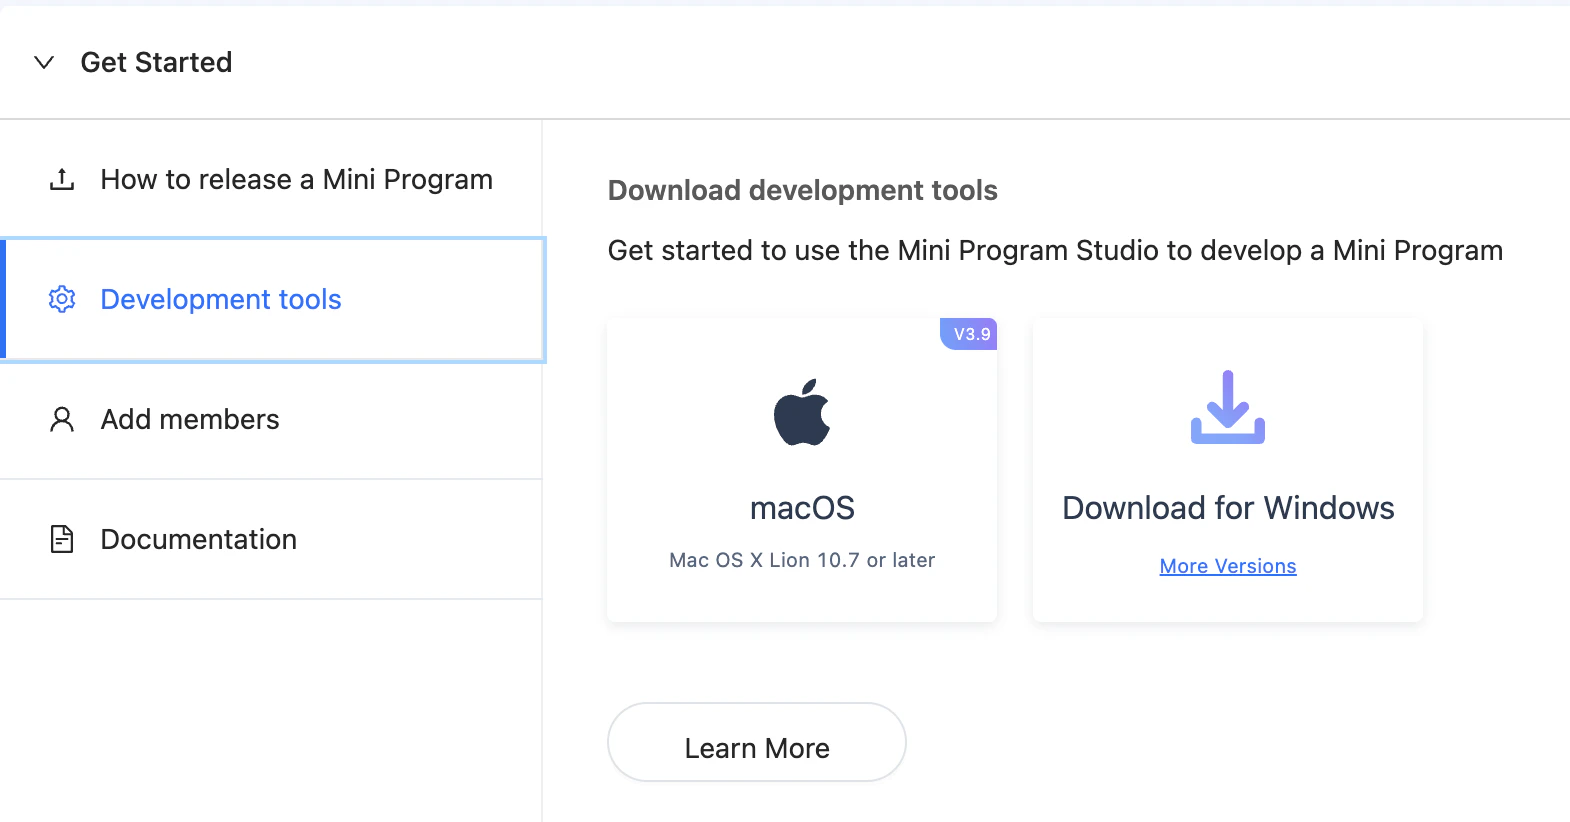
**Mini Program Studio** is available for download in your personal area.
This is the recommended approach for new Mini App development. It provides the best performance, deepest SuperApp integration, and full access to all JSAPIs.
## How It Works
```mermaid theme={null}
flowchart LR
Studio["Mini Program Studio"] -->|Build & upload| Rebell["Rebell Platform"]
Rebell -->|Download at launch| Runtime["Sandboxed Runtime"]
Runtime -->|Renders| UI["Native UI Components"]
Runtime -->|Calls| JSAPI["JSAPI (my.*)"]
Runtime -->|HTTPS| Backend["Merchant Backend"]
```
* Code is written in **AXML** (markup), **ACSS** (styles), and **JavaScript**
* Rendered using **platform-native components** — not a WebView
* All JSAPI methods are available via the `my` global object
* Communication with your backend goes through standard HTTPS calls
## Project Structure
A minimal Native Mini App has this layout:
```
my-mini-app/
├── app.js # App-level logic and lifecycle hooks
├── app.json # Global configuration (pages, window, tabBar)
├── app.acss # Global styles
└── pages/
└── index/
├── index.axml # Page template
├── index.js # Page logic
├── index.json # Page-level config
└── index.acss # Page styles
```
## Step 1: Install Mini Program Studio
Download and install **Mini Program Studio** from the Rebell developer portal.
After installation, log in with your merchant credentials and select your Mini App from the project list.
## Step 2: Create Your App Entry Point
**`app.js`** — defines global state and lifecycle hooks:
```javascript theme={null}
App({
onLaunch(options) {
// Called once when the Mini App is first launched
console.log('App launched', options);
},
onShow(options) {
// Called when the Mini App becomes visible
},
onHide() {
// Called when the Mini App goes to background
},
globalData: {
userId: null,
},
});
```
**`app.json`** — declares pages and global window settings:
```json theme={null}
{
"pages": [
"pages/index/index"
],
"window": {
"defaultTitle": "My Service"
}
}
```
## Step 3: Build a Page
**`pages/index/index.axml`** — page template:
```xml theme={null}
{{title}}
```
**`pages/index/index.js`** — page logic:
```javascript theme={null}
Page({
data: {
title: 'Welcome',
},
onLoad(query) {
// Page loaded, query contains URL params
},
handlePay() {
// Request payment token from your backend, then trigger payment
my.tradePay({
tradeNO: '',
success: (res) => {
if (res.resultCode === '9000') {
my.alert({ title: 'Payment successful' });
}
},
fail: (err) => {
my.alert({ title: 'Payment failed', content: err.errorMessage });
},
});
},
});
```
**`pages/index/index.acss`** — page styles:
```css theme={null}
.container {
padding: 24px;
}
.title {
font-size: 20px;
font-weight: bold;
}
```
## Step 4: Access JSAPI
All platform capabilities are accessed via the `my` global object. Examples:
```javascript theme={null}
my.getAuthCode({
success: (res) => {
const authCode = res.authCode;
// Send authCode to your backend to exchange for user token
},
fail: (err) => console.error(err),
});
```
```javascript theme={null}
my.showLoading({ content: 'Processing...' });
// Later:
my.hideLoading();
```
```javascript theme={null}
my.navigateTo({ url: '/pages/confirm/index?orderId=123' });
```
```javascript theme={null}
my.getSystemInfo({
success: (res) => {
console.log(res.platform); // 'iOS' or 'Android'
},
});
```
See the full [JSAPI Reference](/jsapi/reference) for all available methods.
## Step 5: Call Your Backend
Use `my.request` for HTTPS calls to your merchant backend:
```javascript theme={null}
my.request({
url: 'https://api.your-backend.com/order/create',
method: 'POST',
headers: { 'Content-Type': 'application/json' },
data: { amount: 1000, currency: 'EUR' },
success: (res) => {
const { tradeNO } = res.data;
// Use tradeNO to trigger my.tradePay
},
fail: (err) => my.alert({ title: 'Network error' }),
});
```
Never call Rebell Payment APIs directly from the Mini App. All payment creation must go through your merchant backend to protect your signing credentials.
## Step 6: Preview and Test
In Mini Program Studio:
1. Click **Preview** to generate a QR code
2. Scan with the Rebell SuperApp (sandbox mode) to run on device
3. Use the built-in **Simulator** for quick iteration without a physical device
4. Check the **Console** tab for logs and errors
## Step 7: Submit for Review
Once ready:
1. Increment the version in `app.json`
2. Click **Upload** in Mini Program Studio
3. Submit the uploaded version for Rebell review from the developer portal
4. After approval, publish to production
## Payments
Triggering a payment from a Native Mini App follows this flow:
User taps a button or completes a form in your Mini App
Send order details to your backend via `my.request`
Your backend calls the Rebell Payment API and returns a `tradeNO`
Pass `tradeNO` to `my.tradePay` — Rebell handles the payment UI
Rebell notifies your backend of the final result
See [Payments in Mini Apps](/mini-app/payments) for the complete implementation guide.
## Next Steps
Full list of available my.\* APIs
Review, versioning, and publishing process
Authenticate Mini App requests on your backend
Trigger payments from within your Mini App